Ponds, Fountains and Water Features
Whenever you're putting in a garden it's also a great time to think about putting in a water feature. The two go hand-in-hand for a number of reasons:
- Your yard will naturally have a low spot where water accumulates after heavy rain. Instead of wasting effort fighting this (and losing valuable water to the city drains), work with the landscape and install a pond. This will allow the rest of your yard/garden to stay well drained plus you'll preserve a moist micro-climate where moisture-loving plants can flourish.
- When you're creating a garden you're going to want dirt and lots of it. The topsoil you remove when you dig the pond hole is perfect to use for creating a raised bed. For this reason I'd recommend installing a wider, shallower pond instead of a smaller deeper pond. That way you're digging out more topsoil and less clay. (The pond we installed in our backyard was this one: http://www.menards.com/main/p-1657935.htm)
- Even tiny ponds like ours are enough to attract frogs and keep them in our yard throughout the summer. Birds love our ponds too both as drinking water and as a place to take a bath. Both birds and frogs are helpful in keeping down pest populations in your garden.
- Finally, what better way to make use of all the rocks that you are inevitably finding as you till your garden than to create a water feature?
For as complicated as it looks, building a pond is an amazingly straightforward process. You'll need to buy a preformed pond, a small pond pump (or even a "tabletop fountain pump" if it's rated for the size of your pond), and (if you want a waterfall) a small length of plastic tubing. All of these are relatively cheap and available at any hardware store. Then dig your hole, set in your pond, backfill around it, fill it with water and plug in your pump! (Having a pump is a must as stagnant water will quickly become a breeding ground for mosquitoes and other pests)
Low Spot Fountain
Here's a picture of our "low spot" pond in our back yard when we were first installing it:
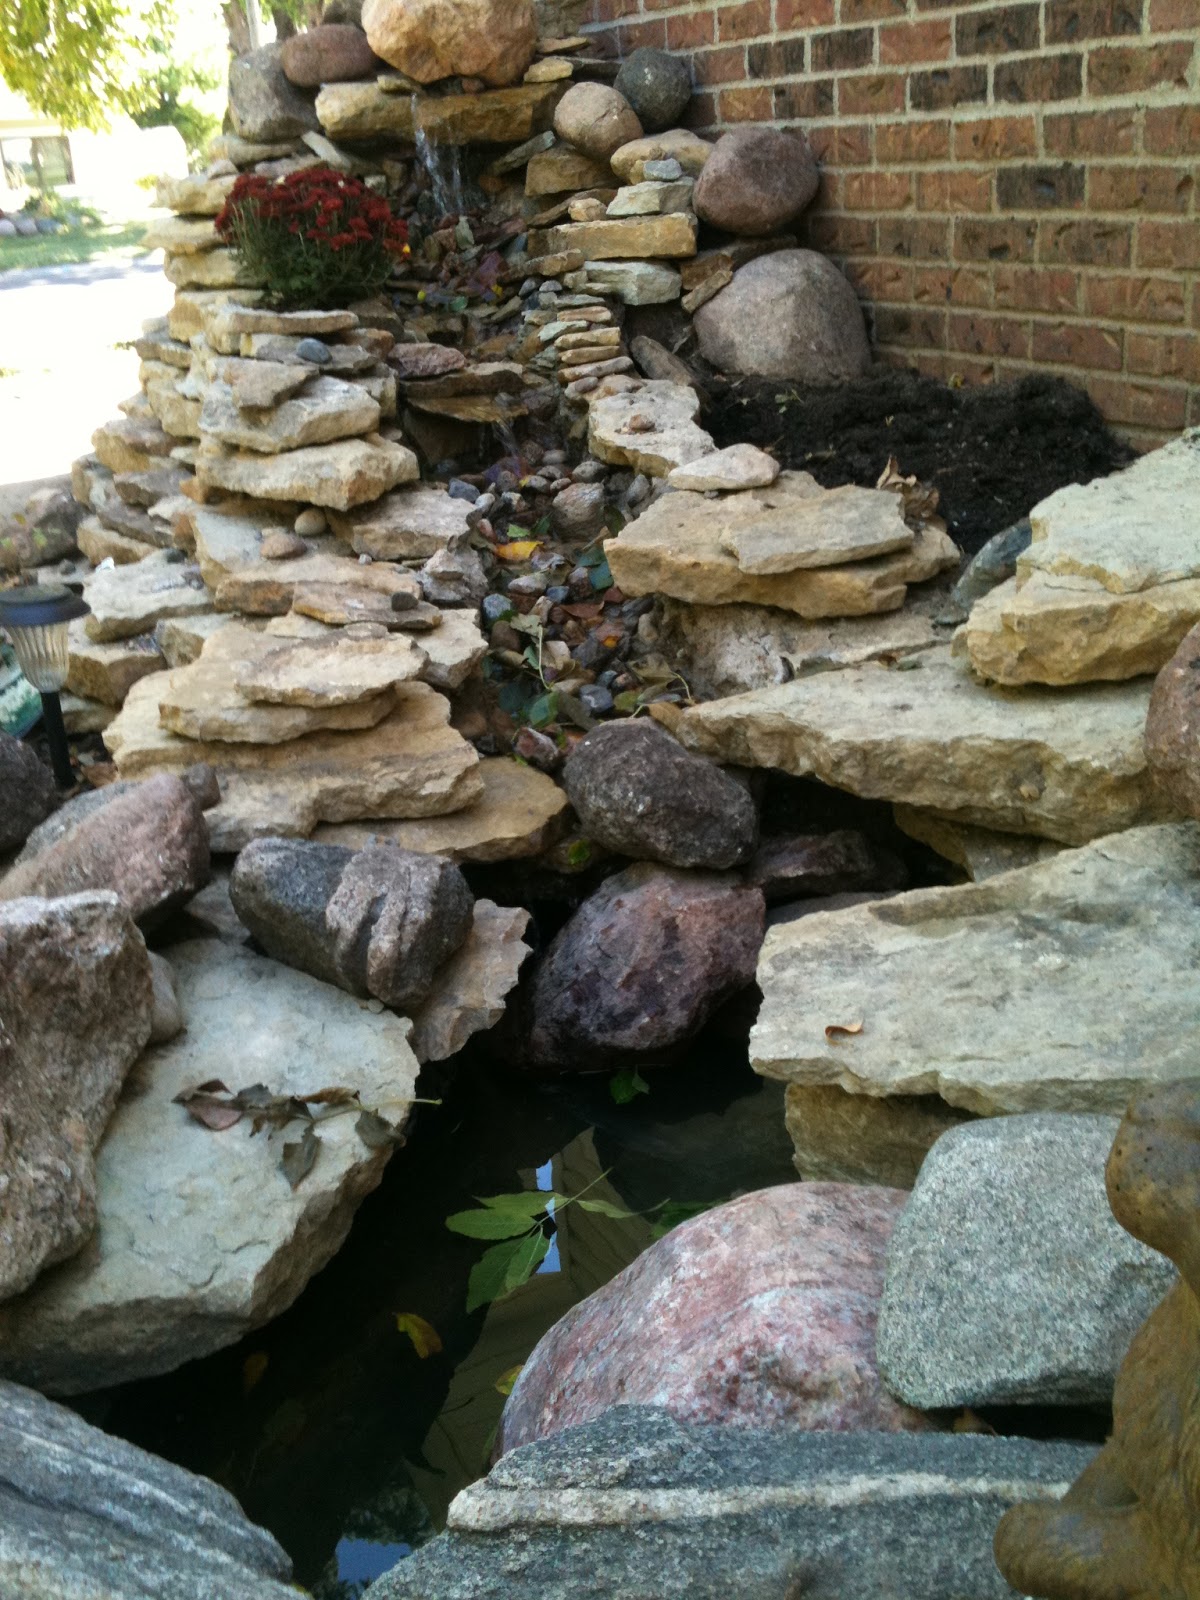
To hide the plastic hosing, we just weighted it with rocks in the water and brought it up under the "lip" of our waterfall and around the back to the top. We then piled more rocks on top:
Here's a picture of one of our friendly toads sunning himself on the fountain last summer:
And our waterfall can be even more beautiful in the winter as we let it freeze and thaw in an endless variety of interesting patterns:
Shade Garden Fountain
So, our first fountain above was built more-or-less from necessity, but our second fountain was built purely for aesthetics. (I take no credit for either of these beautiful water features - they were all the work and design of my husband and our grandson.) Once again, the only "before" pic I have is from the winter we moved in, so here's a winter photo comparison:
This is the north-facing side of our garage. It gets basically no direct sunlight and when we moved in it was only a gravel bed over plastic landscape fabric - no plants at all. Using an
old plastic slide as the base for the waterfall, some chicken wire, and a bit of concrete they were able to create a stunning work of art!
(I did add the shade plants and rabbit so I suppose I can take credit for those.) Geoff and Guy did all the heavy lifting though and there was a LOT of hauling rocks involved. Many of the rocks they gathered from nearby fields and woods. However many of the prettier rocks you see we actually got for free on Craigslist and Freecycle!
They even had the idea to build a couple of flower "pots" into the fountain itself so that we can trade out plants and always have something blooming:
So those are our fountains and I hope they've inspired you to create yours! Please post any questions in the comment section!